Drawing Portraits
Sponsored
Drawing Portraits Tips From Myself…
Since I began drawing I have experimented with some different techniques and tools and it’s important to note that I use what works for me. The tool you use depends on what texture you are drawing, what paper you are using and what’s available to you. I have read some books and picked up some very valuable hints from other pencil artists.
I highly recommend JD Hillberry’s book titled Drawing Realistic Textures in Pencil. It’s made a huge difference to the way I draw. Having said that I will explain a little about the tools and techniques I use. Where possible, I try to meet with the subject and set up a photo shoot.
I prefer to take my own photos where possible.
The initial meeting with the subject is crucial as I like to gain some insight into the personality so as to try and capture some of that essence.
I use an Arches Watercolor hotpress smooth. It’s 100% cotton and it’s acid-free. It’s a nice smooth paper that allows for some smooth blending and it has a nice thickness to it.
I use Derwent graphite pencils ranging from 9H to 9B. I use General’s charcoal pencils and Wolff’s Carbon pencils.
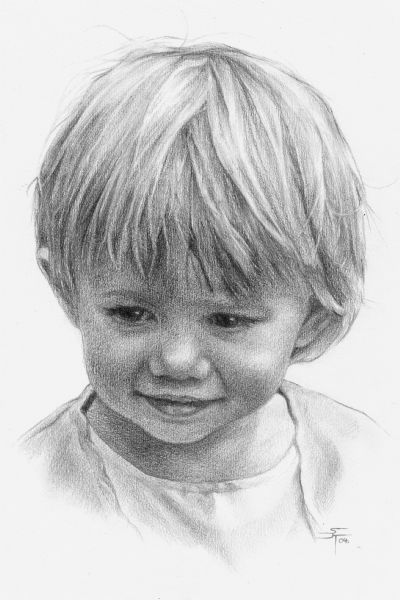
I also use a mechanical pencil in either HB or 2B for fine detail. For blending, I use tortillons and blending stumps in a range of sizes. For smooth blending for the skin tones, I use different blending tools depending on the texture that’s required. For smooth looking skin, especially babies or children’s skin I use a genuine leather chamois.
I also use make-up remover pads. These two tools, in particular, seem to give a smooth blend.
Sometimes I use a tissue and for a rougher texture, I use a felt pad. For pulling highlights I use an eraser pen that is sharpened to a point. My treasured possessions are my kneaded eraser and blue tack.
Because they are so soft it’s possible to knead the eraser to any shape you need and pull out the thinnest of highlights. I use these erasers for a lot of detail work and also to pick up residue that a normal eraser leaves behind.
For the whitest highlights, I use Windsor and Newton Watercolor masking fluid to mask the areas. I have different sized brushes that I use to blend or to brush powdered charcoal or graphite onto the picture.
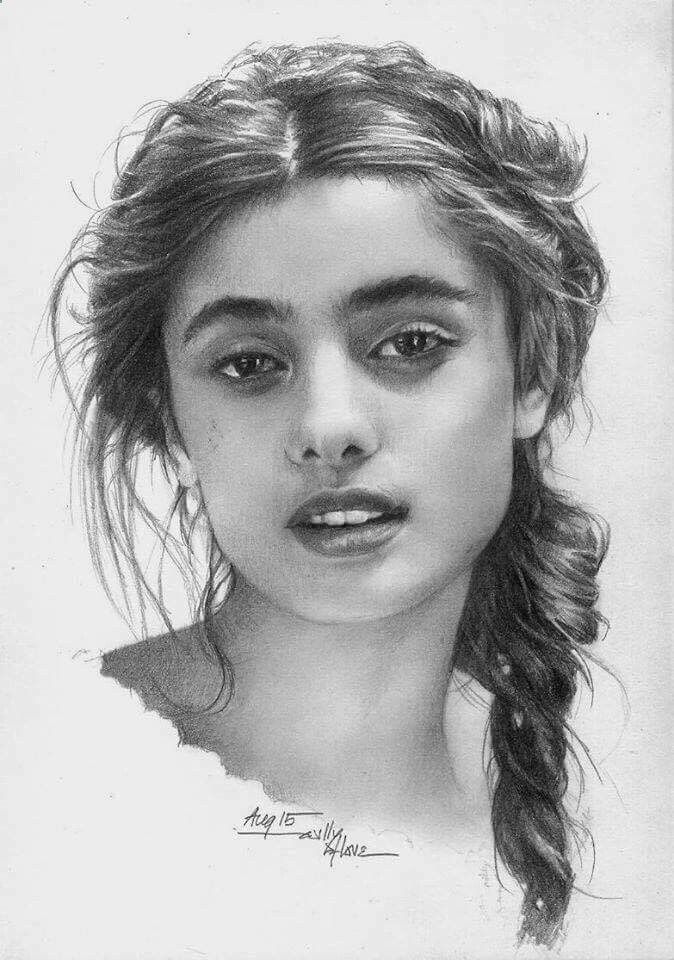
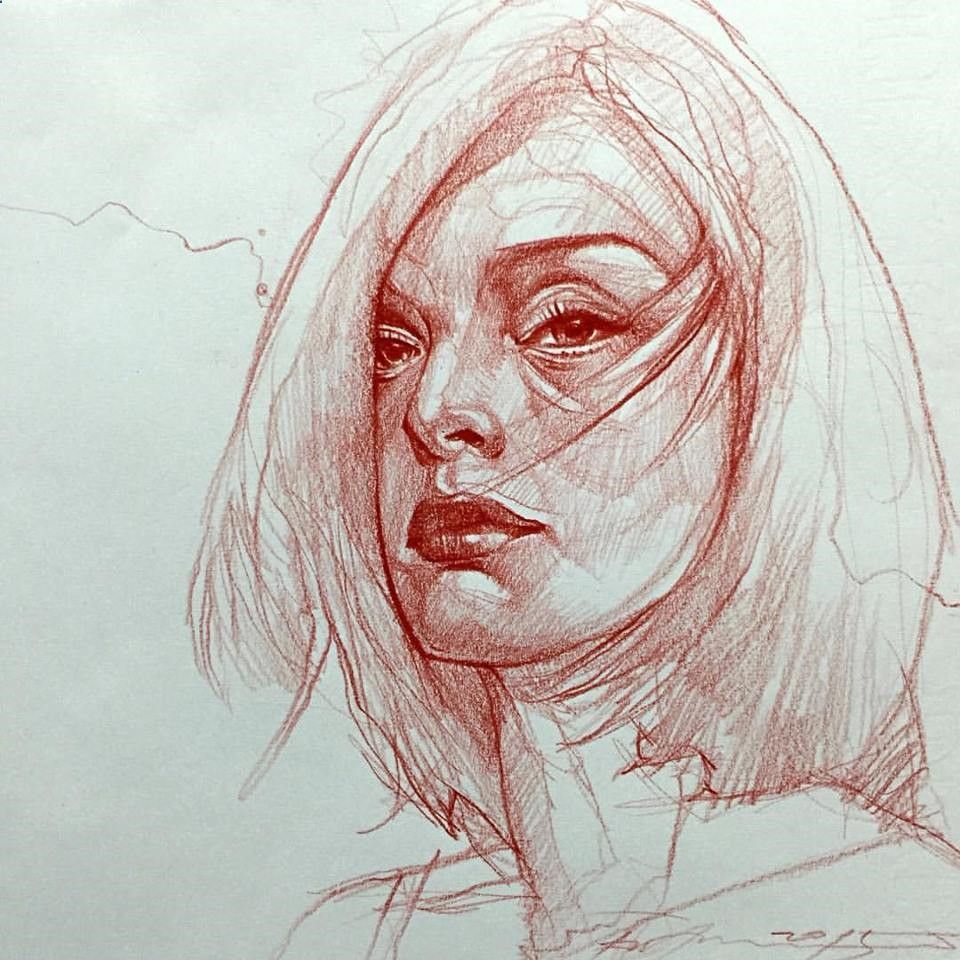
Firstly I outline the picture trying to include details such as different areas of shading and highlights.
I start with the eyes, nose, and mouth. The recommended way to start your picture is the topmost corner of your picture and work your way down so as not to dirty your work.
The reason I start with the eyes, nose, and mouth is that in my experience if I have completed the eyes nose and mouth and it doesn’t resemble the subject, then no matter how much more I complete of the picture, it’s just not going to work. I use charcoal for the darkest degrees of black or grey.
Nothing in the picture beside highlights should be white. Even teeth and the whites of the eyes are a particular degree of grey.
And a rule to remember is NEVER outline anything. These are the tools and techniques that work for me. I am still learning and still have a lot to learn in order to reach the level of drawing that I want to reach. For my achievements so far I would like to thank JD Hillberry for his inspiration.
I would like to also thank Marc Forest for all his advice, teachings and for taking an interest in the development of my work.

Sponsored